How to Translate
StoryMaker supports multiple languages.
We organize our translations on Transifex. You can see an overview here: [[https://www.transifex.com/projects/p/storymaker/]]
To join the effort, first you'll have to make a translation account here: [[https://www.transifex.com/signup/]]
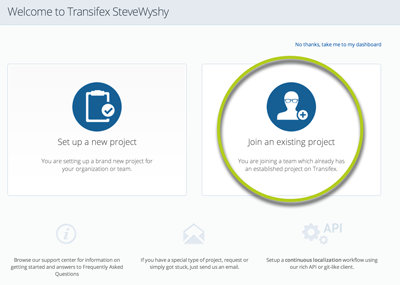
After creating your account, and you've signed in, you'll have to identify your role with Transifex. For the purposes of translating StoryMaker, please select "Join an existing project"

You'll then be able to search, put "StoryMaker" into the search box and our project should appear.

Here you'll see the storymaker translation dashboard with an overview of all our translations.

You can click on the name of the language you'd like to participate with. For this demo I'll select French.
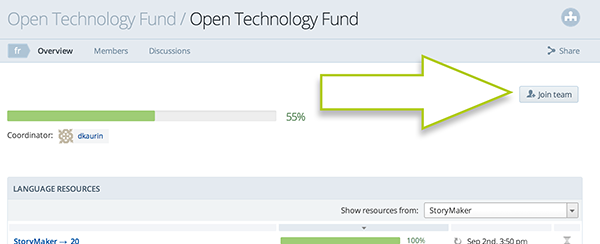
On the next page I see another dashboard with an overview of the status of the french translation. To join this, I need to tell the coordinator I'd like to join. Click the "Join Team" button in the top right corner.

Now you can start working on the translation.

These are the files you should start with.
StoryMaker - stringsxml
StoryMaker - stringsnewxml
StoryMaker - photo_simple_template
StoryMaker - audio_simple_template
StoryMaker - essay_simple_template
StoryMaker - video_simple_template
StoryMaker - arraysxml
StoryMaker - lesson_titles
The numbered files are individual lessons. These are great to translate, but can take a lot longer.
All lessons starting with a 1 are Journalism Lessons
All lessons starting with a 2 are Security Lessons
All lessons starting with a 3 are Audio Lessons
All lessons starting with a 4 are Photography Lessons
All lessons starting with a 5 are Video Lessons
Now that you've joined transifex, and know where to start, you can get started translating. Just select the file you want to start with, and click "translate now"
To learn more about the editor, check out this post from Transifex: http://support.transifex.com/customer/portal/articles/972120-introduction-to-the-web-editor