Workflow for Complete Account Creation
Initial Mobile Device Setup
You've got a fresh mobile device in front of you. The first thing to do is check for any software updates for your device.

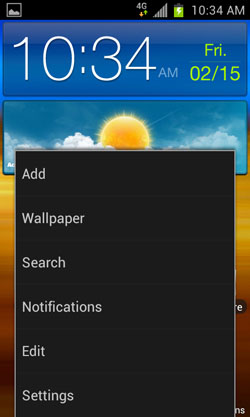
Click Menu, Settings,
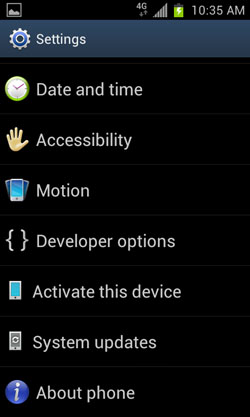
System Updates,
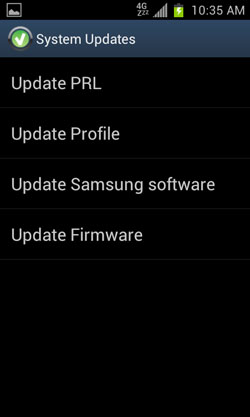
then Update Software. In this case it says "Update Samsung software" this may or may not be the case depending on your device.
If necessary, download and install any necessary updates for your device.
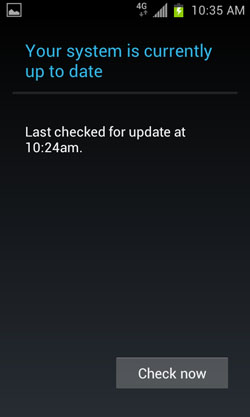
This is important because it will improve stability and security for your device.
Creating Your Google Account
Now that our device is updated, lets add our google account to the device.

For these walkthroughs I will be using the test gmail account, SWNBernstein@Gmail.com
From the home screen, click "Menu" and find "Settings" in the list, select it.

then find "Accounts and Sync"
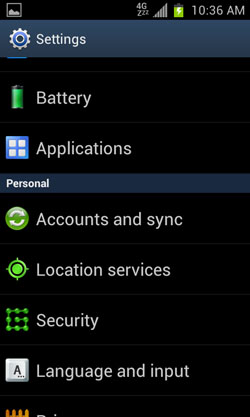
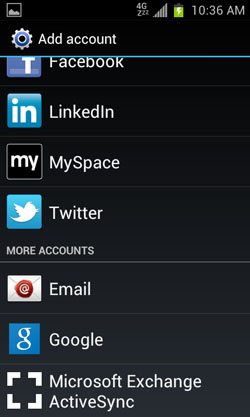
then click "Add account".

Select Google from the list.
If you've already made your google accounts, choose "Existing". If you need to make a new account, choose "New".
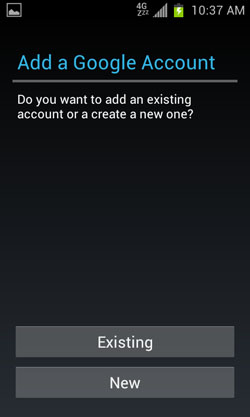
In this case, we are going to choose Exisiting. We'll be using a testing account we have, SWNBernstein@gmail.com
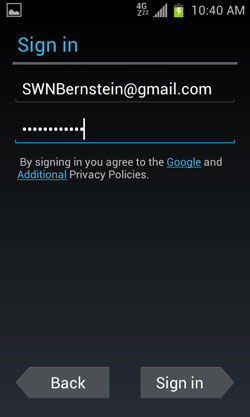
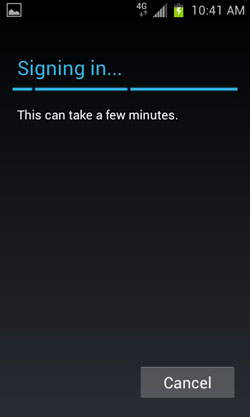
Depending on a variety of factors this could take a few minutes.
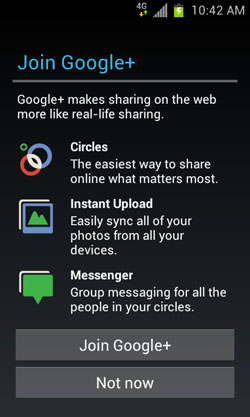
If/when prompted for joining google plus, select "Not now".
If/when prompted for Backup and restory, leave the checkbox selected next to "keep this phone backed up with my google account."

You'll be taken back to the add account screen, select back, and you should now see the your account added in the accounts and sync screen.
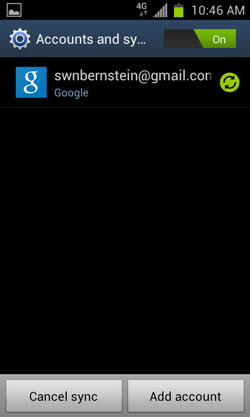
Congratulations, your mobile device is now setup with a google account.
YouTube Account
Can't seem to find a specific page on the options available to YouTube users.
Find the YouTube icon in your application list.
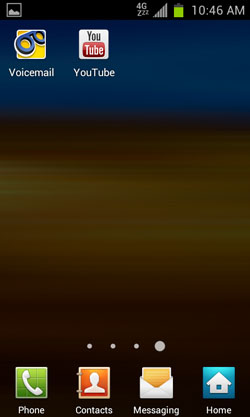
When you select YouTube the first time, YouTube should automatically sign you into your account. If this happens you should be presented with a screen showing your account signed in.

If this is not the case, click your menu button, and select "Sign in".
It will ask you what account you'd like to sign in with, select your google account. It will then sign you into your account.
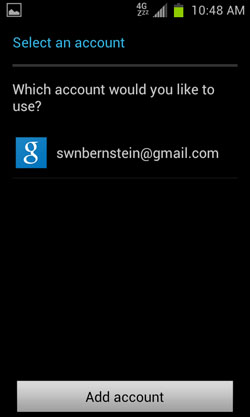
Your mobile device is now connected to YouTube.
Connecting to the Google Play Store
The Google Play Icon should be on your homescreen.

Open up the google Play Store. Note: It may be called the "Market" as well. It will look one of these two icons.

When you open, you'll be asked to agree to the terms. First, UNselect the "Keep me up to date with news and offers from google play." if you'd like to avoid marketing emails from the google play store.
Then, select the "Accept" button.
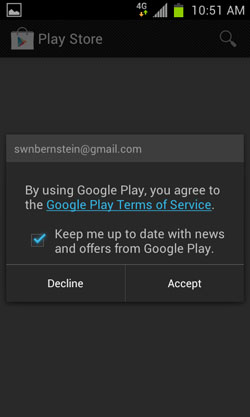
You are now in the google play store.

Installing StoryMaker
(StoryMaker Play Store Screens will be inserted when StoryMaker is added to the Google Play Store)
Select the Search Icon in the top right hand corner. Type in "StoryMaker" and click search.
!!
Select "StoryMaker" from under the App section.
!!
Select the blue "Install" button.
!!
Select the "Accept & download" button.
!!
The app is now downloading. In your tray you should be notified when StoryMaker has been installed.
!!
Installing SoundCloud
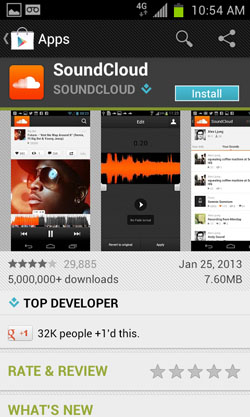
Select the Search Icon in the top right hand corner. Type in "SoundCloud" and click search.
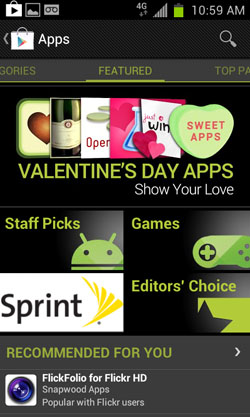
Select "SoundCloud" from under the App section. Note, it should only say "SoundCloud" in the name, and not "SoundCloud Downloader"

Select the blue "Install" button.
Select the blue "Accept & download" button.
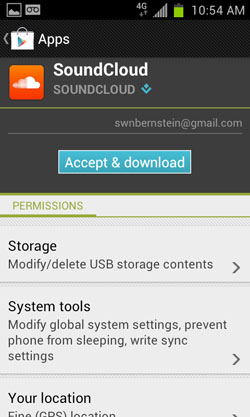
The app is now downloading. In your tray you should be notified when SoundCloud has been installed.

Tray Notification:

Installing Orbot
Select the Search Icon in the top right hand corner. Type in "Orbot" and click search.

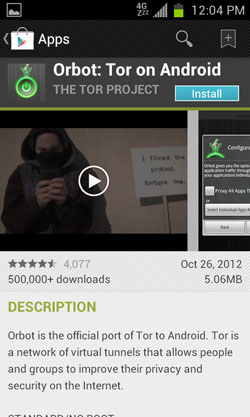
Select "Orbot: Tor on Android" from under the App section.
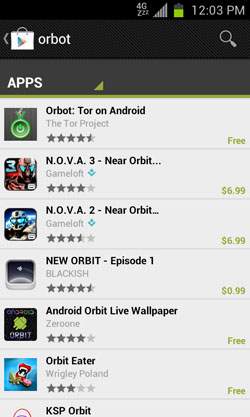
Select the blue "Install" button.
Select the blue "Accept & download" button.
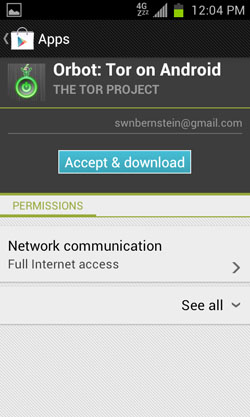
The app is now downloading. In your tray you should be notified when Orbot has been installed.
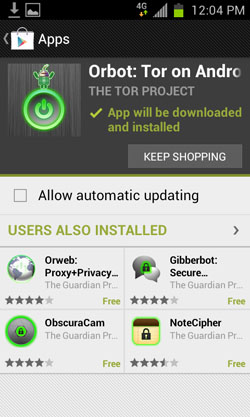
Setting Up Orbot
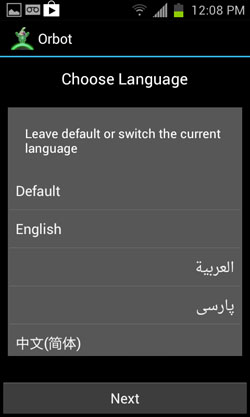
You'll be prompted to select your language of choice. For this example, I will choose English.
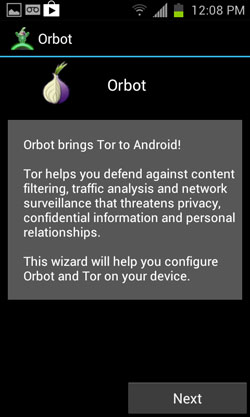
Orbot will now explain a little about what it does. Select "Next" when you've understood this.
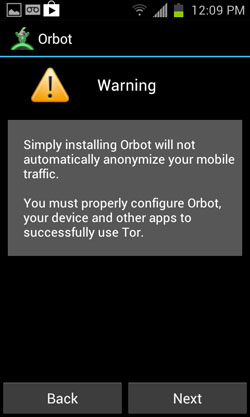
Now you'll be given a Warning about the security implications of using Orbot incorrectly. Select "Next" when you've understood this.
You'll be given a Permissions Warning if your device is not rooted.
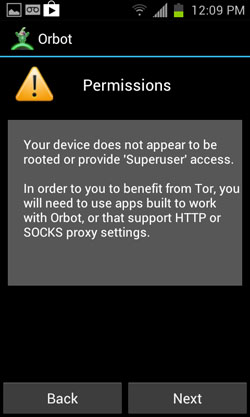
On a fresh mobile device this is expected. StoryMaker is built to work with Orbot without superuser access.
Now you'll be presented with other Apps that utilize Orbot to protect you.
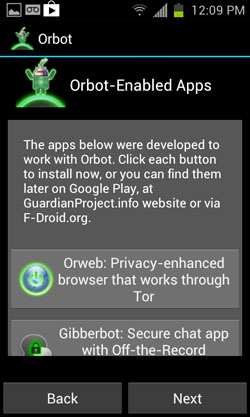
Any of these buttons will take you directly to the google play store to download them. For now, select "Next".
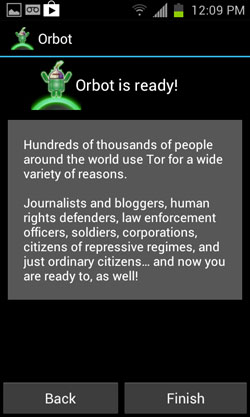
Now Orbot is Ready. Select "Finish".
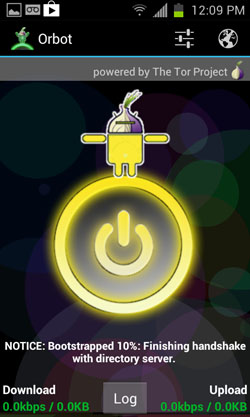
Orbot will be in a dormant mode when you first open it. To start it you'll need to hold a long press on the the big power button in the middle of the screen.
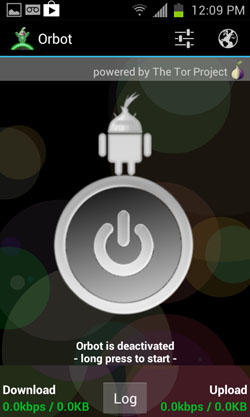
Orbot will now initiate the process to connect to the Tor network. This will take a few moments.
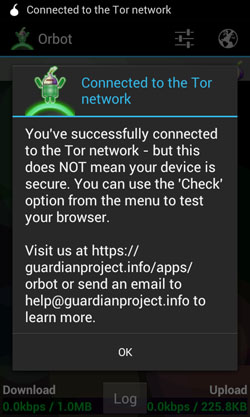
When it's finished, you'll be presented with a prompt that you've successfully joined the Tor network. Select "Okay."
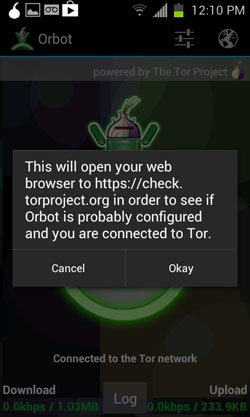
Orbot will ask you to open a web page to see if it has connected to the Tor network. This is likely to fail due to your phone not having superuser access. This is okay, so long as you only expect to use Tor with StoryMaker.
At this point, StoryMaker will be capable of utilizing Orbot to access the Tor network.
SETTING UP SOUNDCLOUD
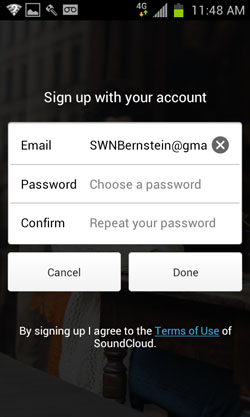
Open up SoundCloud. Again, much like setting up StoryMaker. It will be a faster process if you create your accounts before hand and simply sign into exisiting accounts with each mobile device. If you haven't setup your account, select the "Sign Up" button at the bottom of the screen.

It will put your email address in automatically. But you'll have to create your own password. Fill it in, and select "Done".
You'll be prompted to add a picture. If you wish to do so, you may add it. It might be best to skip this for now.
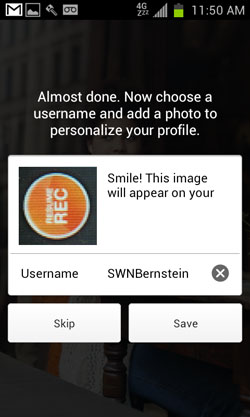
You will recieve an email notification about your account with SoundCloud.
You're now ready to share your content on SoundCloud.
Creating a Flickr Account
Note: These instructions are for creating flickr accounts on a laptop/pc. The flickr app will also allow a user to create an account as well, but it's not available everywhere.
Go to Flickr.com, Click the Blue "Sign Up" link at the top of the page.
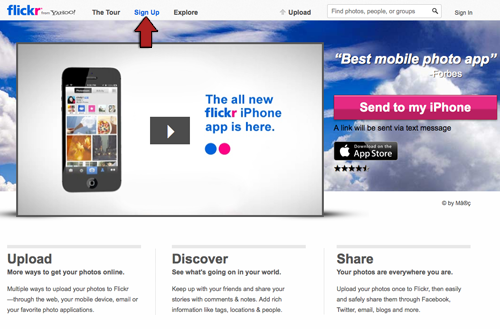
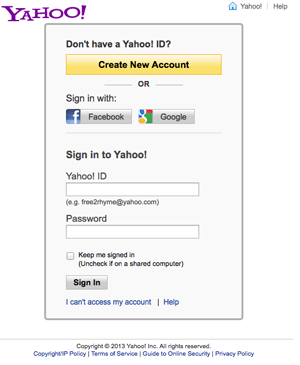
Under the "Sign in with:" section you should see a Google button, please Select it.
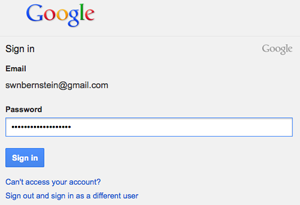
Now you will be prompted to sign into your google account, fill out the details as needed.
This will now create a yahoo account linked to your google account.

You'll be prompted to verify your Yahoo username and some other information.
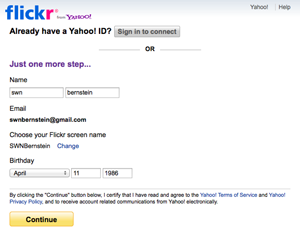
Then you'll be taken to a flickr account page for you to see an overview of your account. But at this point you have completed creating a flickr account.
Setting Up StoryMaker
If you're setting up a lot of accounts, and you happen to know all the users and their usernames they'll like to use, we suggest you make all your accounts logged into the storymaker.cc site as an admin with a laptop or PC before opening StoryMaker on a mobile device. It's a faster process to do with a keyboard and mouse.
That might not always be possible. So we'll explain how you can make the accounts on a device.
Open StoryMaker. At the bottom of the start screen select "Create Account"
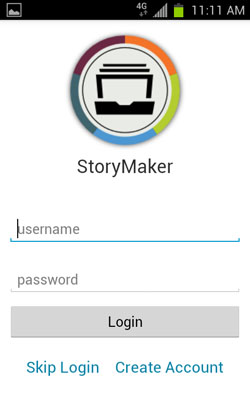
Fill in your details, and click Register.
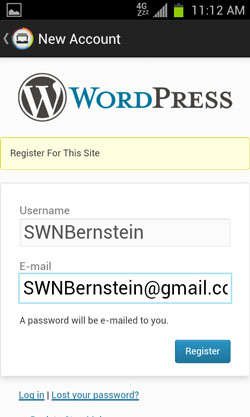
You should recieve an email from WordPress@storymaker.cc with your login credentials quickly.
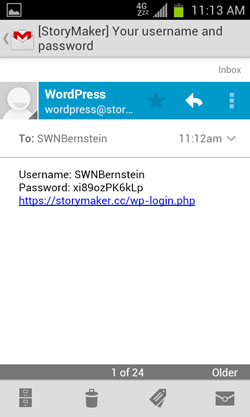
Using a long press on the screen, select and copy your password from the email.
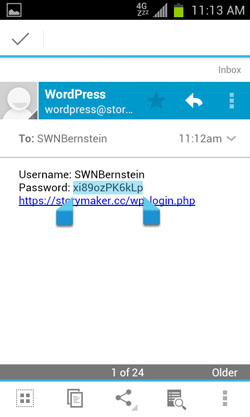
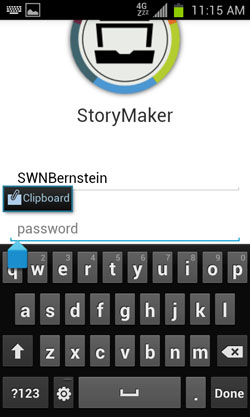
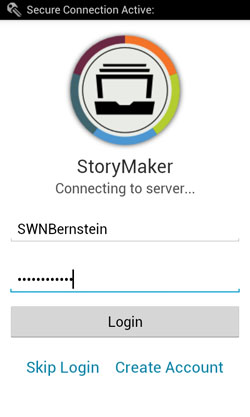
Return to StoryMaker, and fill in the new username you chose, along with the password just emailed to you. Select "Login".
You will see the app connecting to the StoryMaker servers.
You'll be presented with a Terms of Service. To advance further you'll have to select "Accept".
Enabling Tor
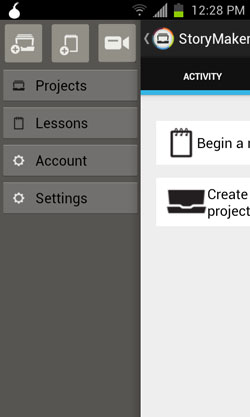
Select the top right StoryMaker icon to open up the tray.
On the open trey, select "Settings" from the list.
Under the Networking & Security section, Select "Use Orbot (Tor) for Network Traffic". This will allow StoryMaker to utilize Orbot to connect to the Tor network and anonymize your data.
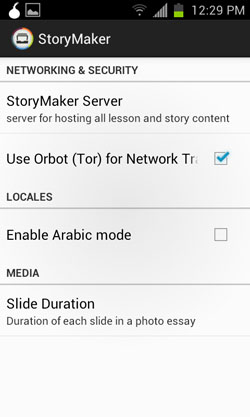
Now StoryMaker will utilize Tor wherever possible.
Enabling Arabic Mode
Select the top right StoryMaker icon to open up the tray.
On the open trey, select "Settings" from the list.

Under the Locales section check the box next to "Enable Arabic mode".
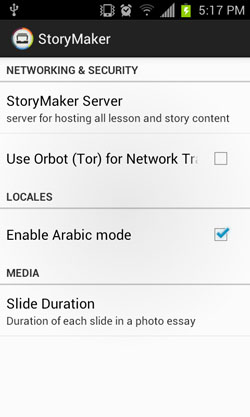
When you return to the homescreen, the app will be in Arabic.

Lesson Material
Note! If you download the Curriculum, it will be downloaded in the language you are using in the App. That is, if you'd like to download the curriculum in Arabic, you need to ensure that you have the Arabic Mode setting checked off in the Settings. If you need the curriculum in arabic, make sure when you download it, the Lessons section looks like this:

To get access to all the training material, lets make sure you go and download it to the device.
Select "Begin a new lesson" from the home screen.

You'll be presented with five categories of lessons. All of which will have no lessons available. Select Journalism, in the trey you'll be prompted with a notification that the app is connected securely to the server. Then you will see a message pop up after each of the lessons in Journalism is downloaded.
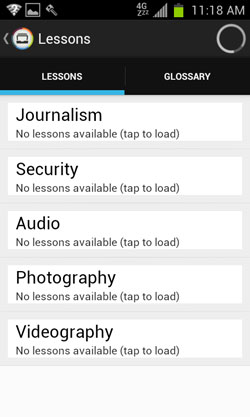
By pressing one of the sections, the app will connect with the server and download the lessons for that section. You will be shown prompts on screen when each lesson downloads.
The total lesson count is listed below:
Journalism (9 in total)
1.0
1.1
1.2
1.3
1.4
1.5
1.6
1.7
1.8
Security (12 in total)
2.0
2.1
2.2
2.3
2.4
2.5
2.6
2.7
2.8
2.9
2.10
2.11
Audio (9 in total)
3.0
3.1
3.2
3.3
3.4
3.5
3.6
3.7
3.8
Photography (12 in total)
4.0
4.1
4.2
4.3
4.4
4.5
4.6
4.7
4.8
4.9
4.10
4.11
Videography (14 in total)
5.0
5.1
5.2
5.3
5.4
5.5
5.6
5.7
5.8
5.9
5.10
5.11
5.12
5.13
Verify that each of the sections has all of it's lessons and they are operational.
StoryMaker is now ready to be used to take lessons and produce content.